

This post is going to provide a step by step tutorial to deploy your Phaser game to the AWS servers using the Amplify services.
If, like me, you have been using Phaser 3 and fell in love with it, you will also be aware that at some point in time you may be required to deploy the site on the web. This may be required for two main reason:
- You are ready to publish your game
- You want an easy way to “test” your game on different devices
Deploying your game could be tricky and expensive. But in this post we are going to explain how to use AWS amplify service to deploy your site in minutes. This approach is not only going to save you time, but also money, as the Free tier offered by AWS should be more than enough for your initial indie game debut.
The article is going to cover all the details necessary to deploy the game to the cloud, but it is going to assume that you have basic understanding of Phaser. If you have never heard of Phaser before, I suggest you to follow their “getting started with Phaser ” before progressing further.
Create an AWS account
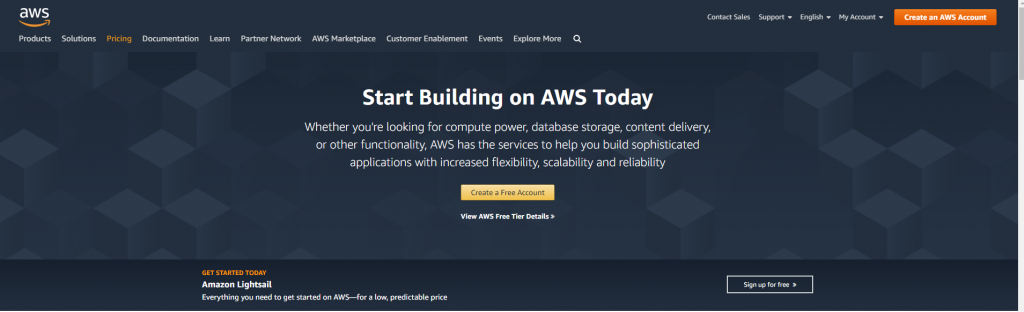
Our first step involve the creation of an account in AWS. To create an account, simply go to the AWS homepage and start your registration by clicking the “Create Free Account” button.
The registration process is quite simple, as it just requires a couple of fields to be filled in.
If you are new to the cloud, things can sometimes be very scary, so I always suggest to spend a couple of minutes to setup some Budget alert. Alert are very useful to keep a peace of mind and make sure to never receive unexpected surprises.
This page provides information on how to control your costs in amazon AWS: control your costs free tier budgets
Create an AMPLIFY project
There are hundreds of AWS cloud services available. Today we are going to use just one Amplify

As stated from the AWS website Amplify is:
AWS Amplify is a development platform for building secure, scalable mobile and web applications. It makes it easy for you to authenticate users, securely store data and user metadata, authorize selective access to data, integrate machine learning, analyze application metrics, and execute server-side code. Amplify covers the complete mobile application development workflow from version control, code testing, to production deployment, and it easily scales with your business from thousands of users to tens of millions. The Amplify libraries and CLI, part of the Amplify Framework, are open source and offer a pluggable interface that enables you to customize and create your own plugins.
https://aws.amazon.com/amplify/
Thanks to all its built-in services, such as push notification, authentication and framework. Amplify really provides you with everything a developer needs for any kind of Web/Mobile Application.
There are two ways to manage Amplify project. Using the UI provided by the AWS console ( the main website) or using the AWS CLI package.
For the scope of this article, we are going to create our application using the AWS console, but plenty of tutorial are available within AWS to explain how to get started with the CLI.
Create a Project
Our first step requires us to Create a new Amplify project. First we need to log into our AWS account and navigate to the Amplify service page:
- Log into your account https://aws.amazon.com/
- Click on services (on the main top bar)
- Type “AWS amplify” or find the service within the “mobile” category
- Click on “AWS Amplify”
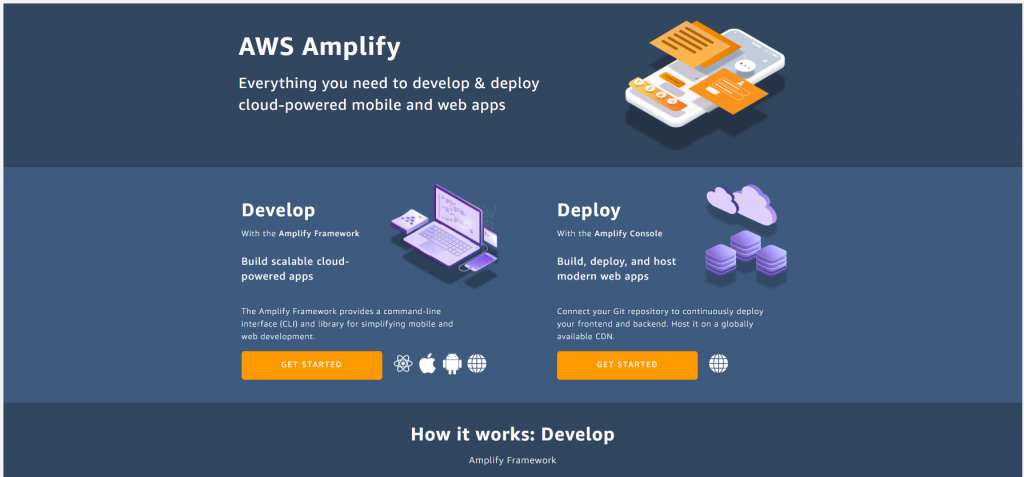
As previously mentioned Amplify offer two powerful tools, the CLI that is listed in the screenshot above as “Develop”. And the Console, that is referred as “Deploy”.
To get started, click the “Get started” button under the Deploy column and start the Project Creation Wizard.
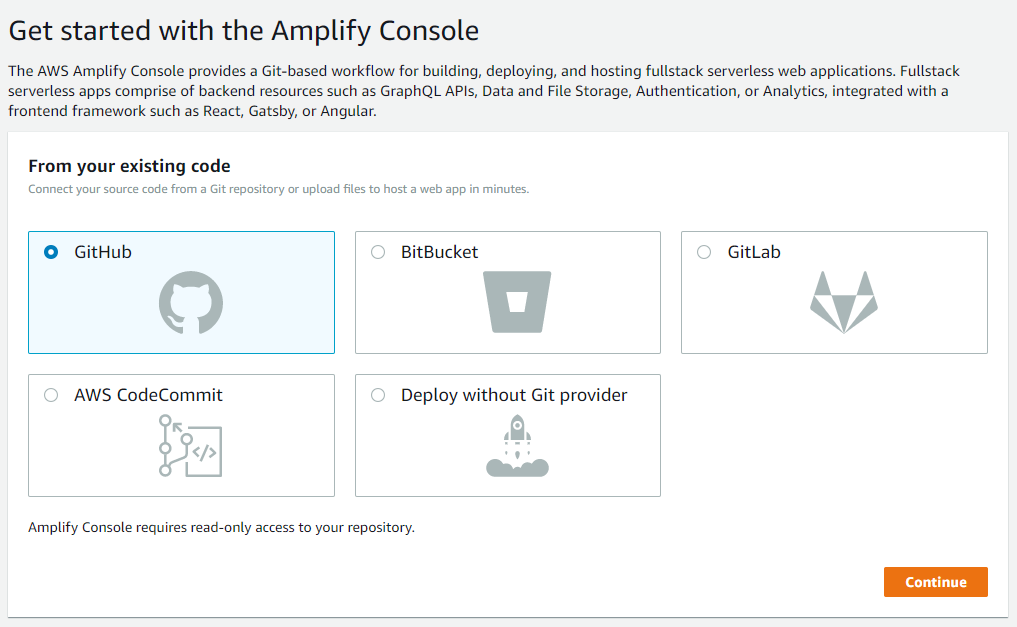
The service offer many integration with Git repositories. For the scope of this tutorial, I am going to select GitHub.
NOTE: If you are starting your project right now, and do not have a GitHub project in hand, I suggest you to close the following repository that includes the minimum required filed to run Phaser and follow this tutorial: https://github.com/Zelig880/phaser-3-aws
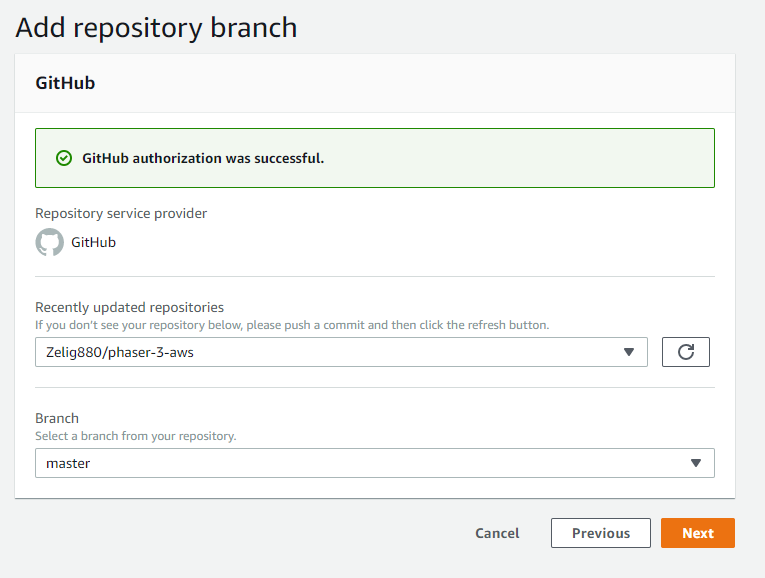
Step 1: Add repository Branch
It is now time to select GitHub and complete the steps proposed to link your GitHub account and select the right repository to “link” to our newly created Amplify App.
The wizard will guide you in the three main steps necessary to register your repository. First we need to authorise Amplify to access GitHub, then select the repository we want to link, and finally choose the “master” branch that we want to use for our deployment.
Step 2: Configure Build Settings
In this step we are able to define our Build settings. The build process will be automatically run by Amplify on specific triggers ( by default it will run every time Master is updated).
The AWS service, is able to autodetect most of the framework available, and will pre-set the settings for you. In my case, due to the fact that the repository just include a single HTML file and does not need any compilation and or scaffolding, this build file is all empty.
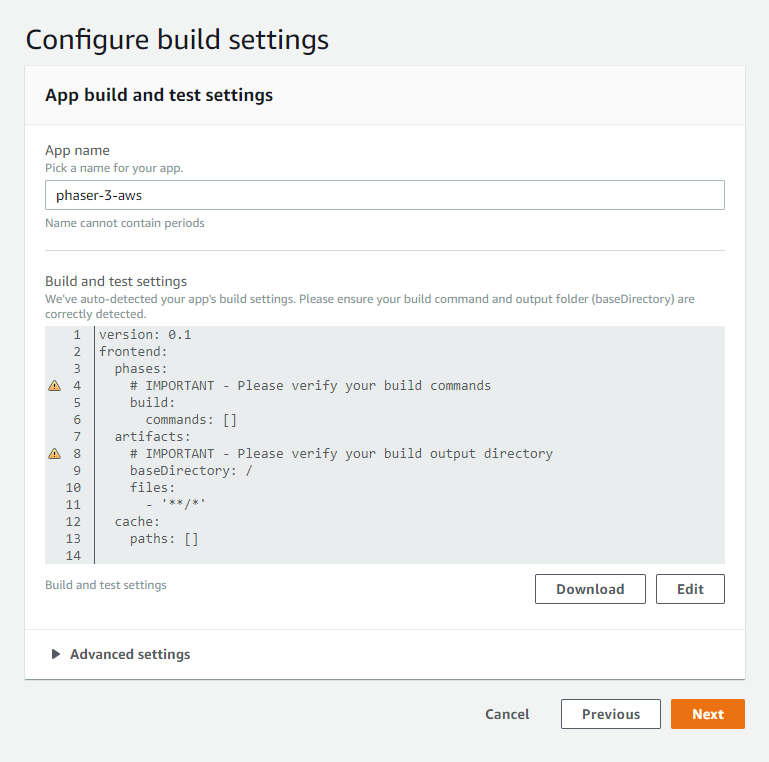
This step can seem scary at first, but I want to emphasise that in years of using this service, I always managed to use the “suggested” settings, no matter the framework used ( I tried React, Angular, VueJs).
Step 3: Review
In this step we are going to review the settings and create our application. The first build of our application will start immediately, after clicking the “Save and Deploy button”
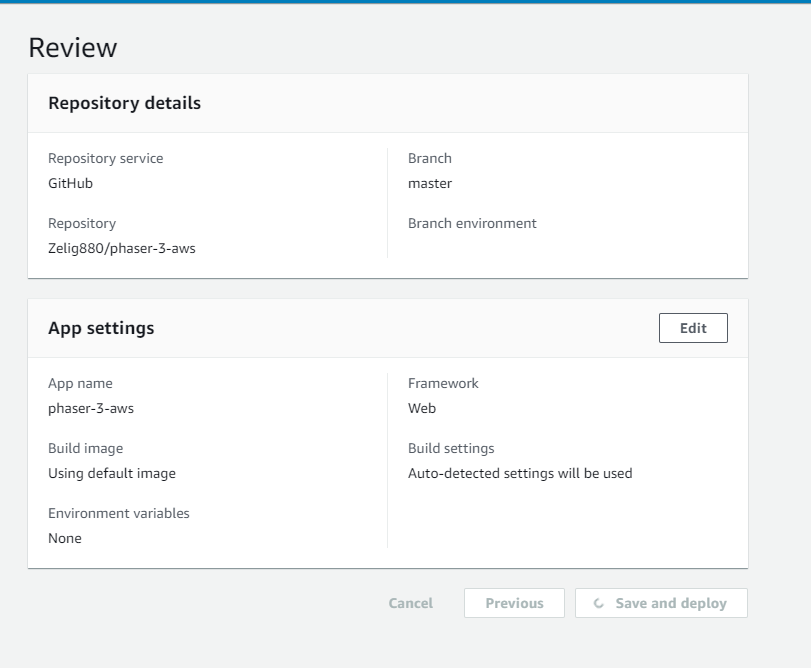
Note: Amplify is very powerful and offer more control on your build, triggers and can even link to PR and create and destroy PR builds on the fly. If you are interested in more details, do not hesitate to contact me.
See your project
While our application build, lets spend some time to learn about the controls and features offered by amplify.
There are too many features to cover them all in this tutorial, so I am just going to cover a few important point of the Amplify dashboard:
- General: Provides the ability to make changes to the project and connect multiple Branches to the CI integration
- Previews: Provides the ability to automatically spin-up environment for each PR that gets generated. Extremely useful to be able to “test” all your code before it gets approved
- Environment Variables: Provide full control of the environment variables. This can be applied to all branches or just to specific instances
- Branch Tab list ( In our case the master deployment): This shows us the status of the last build, gives us to see the details of each individual build step (by clicking any of the steps icon), and finally provide us a unique URL to our deployed app.
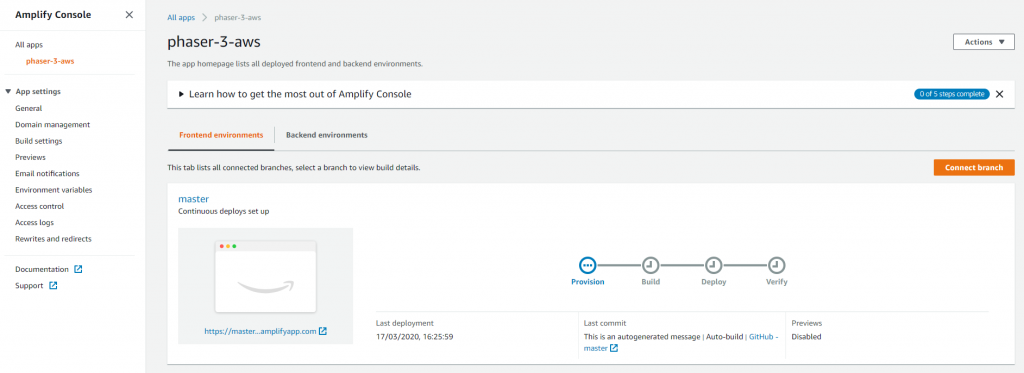
The URL that gets automatically generated for your application includes three different values. The name of the branch, your Amplify ID and the amplifyapp.com site. In the case of the above deployment, the URL would be:
https://master.ds59yaewvrxmx.amplifyapp.com/
At deployment complete, we should be able to see our newly deployed application, up and running, like shown in the screenshot below:

Deploy your changes
Being able to quickly deploy a site to the Web, without having to fight with Build configuration, server settings and all the extra headache required, is absolutely brilliant. But, I am personally more surprised by the Continuous integration built-in within the APP.
To try this powerful feature, it is time to go to your source code ( either locally using your IDE or choice, or directly within GitHub but using their online editor) and change a file and push it to remote.
In my case, I am going to change the log to use my own instead than Phaser.
As soon as Amplify detect that our master branch has changed, it will immediately trigger a deployment.
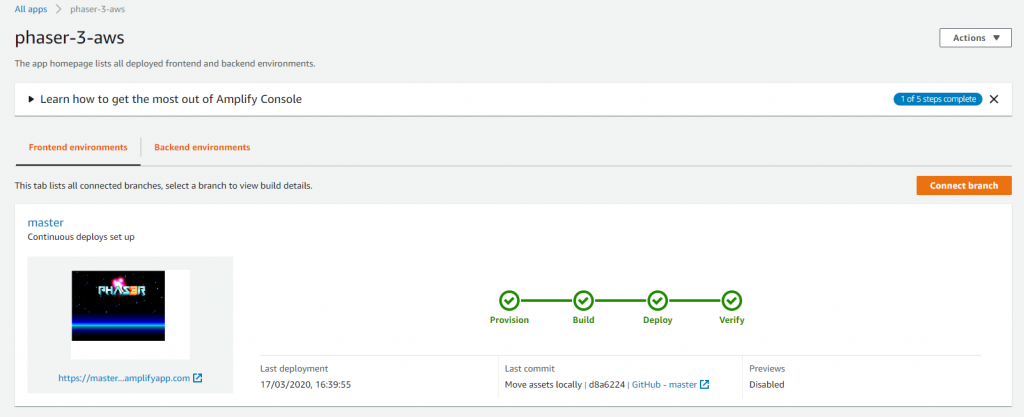
A deployment in AWS consist of 4 different steps Provision, Build, Deploy and Verify. Changes to the site will be visible as soon as all this steps are completed .
Conclusion
When I first learned about Amplify I was scared and sceptical about all the promises made on the front page. But after a few usage, I can confirm that it is really a great tool and it can leverage the development lifecycle.
Phaser 3 is a great library, and for my opinion, a simple release process, was the only piece missing of the puzzle. Having the access to a Free and World Wide available deployment of your game is priceless.
The example covered by this article, just touches the surface of what is possible within AWS amplify. In recent project I had the possibility to expand my knowledge and learn about all its great services. Being able to use push notification, data storage and authentication, can be quite useful to help your game development.
Please feel free to comment below if you have any further question. You can also contact me on twitter if you have specific questions on Amplify and what you can really achieve with it.
You can also deploy a Github repo to Amplify with:
https://us-west-2.console.aws.amazon.com/amplify/home?region=us-west-2#/deploy?repo=https://github.com/your-account/your-git-repo
That assumes you already have an Amplify account.
I’m assuming this is only for single player games right? Tried hosting my prototype for a socket.io based multiplayer game and its not working. Found out I can’t edit ports used so the socket.io can communicate from clients to server. Looking into AWS GameLift now.
Yes, correct, this deployment is just for a single player and won’t work with Socket.io.
If you manage to deploy your game using AWS GameLift or any other platform, give me a shout so that we can add another blogpost for future readers (also happy for a guest post if you want).